Up on the Roof

Now that the ridge beam is up, I am ready to design the rafters for the back and front roofing. I did my rafter research a year ago and forgot about the complex math in rafter calculation. After looking at all the formulas necessary I totally freaked out. Even though I was a math wiz in college (which was useful for all the golden ratio artwork I did during my art career), I really wanted my house to be an organic experience, like nature, in the “now”, Tolle style.

My intent from the beginning was to approach the silver bullet tiny house build differently than most of my fellow enthusiasts.  Of course I want the build to have some structure (respect for safety, building codes, engineering, necessary customized features, off-grid, small footprint, etc.); however, I wanted the experience and myself to “imprint” each other. You know, the “what is a home”, really, question materialized and honored by my animus.

I decided to approach this project as I did a body of artwork for a show. I had ideas, concepts, a palette and media materials in mind; yet, I wanted to hold the greatest respectful space for my intuitive, accidental inflection, and creativity. Yes, I knew that might mean some delays, some changes and some challenges, and that’s okay with me.

To meet my challenge of building an organic tiny house (no formally purchased plans from a “big-box” tiny house company), no architect boyfriend or contractor relative handy, just a few outside sketches, some found ecologically recycled and repurposed materials and a list of necessary features. I constructed an entire rafter template plan based on my back end framing using a basic framing square. Luckily the rafters all fit beautifully on the dormer area. Whew!

Dormerrafters


You can see the dormer rafters in this picture above the head of one my sponsors who came from France to visit my progress on the Silver Bullet.


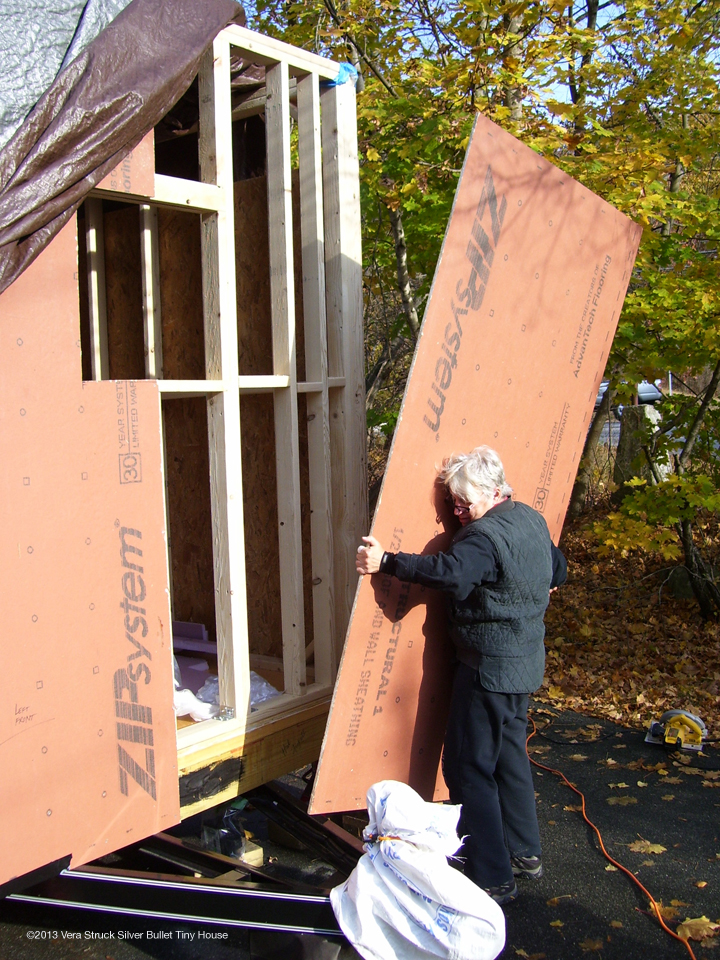
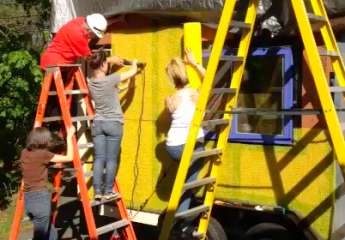
Over a glass of French wine late that night I was thinking, “I’ll have to ask if she’ll help me with those gigantic ZIP panels…”. Her plane left too early. Ah, maybe the UPS guy?

Dormer

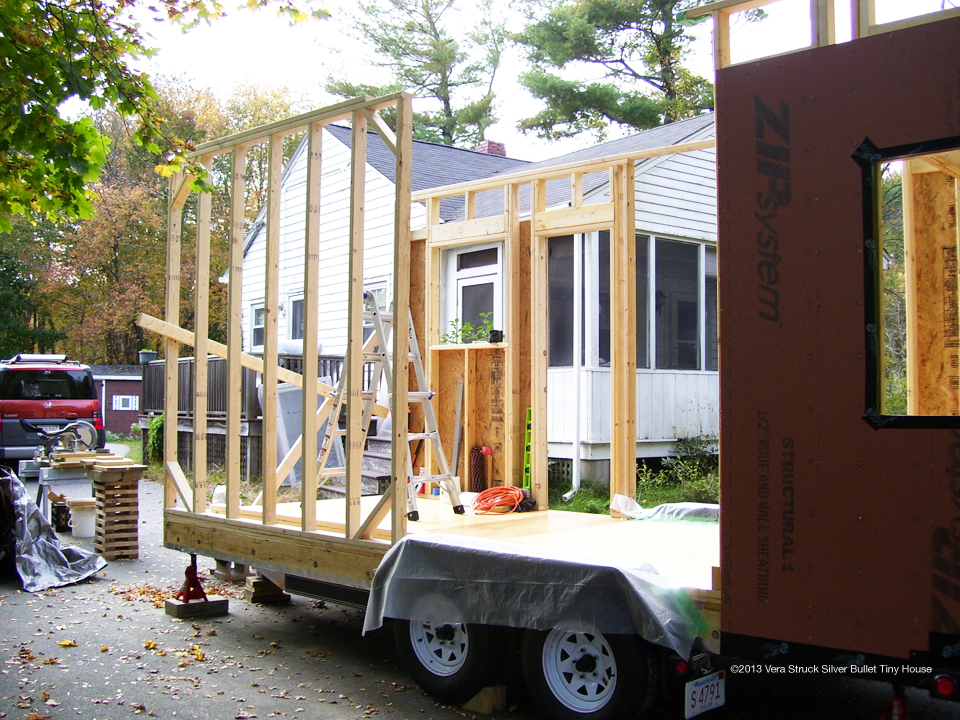
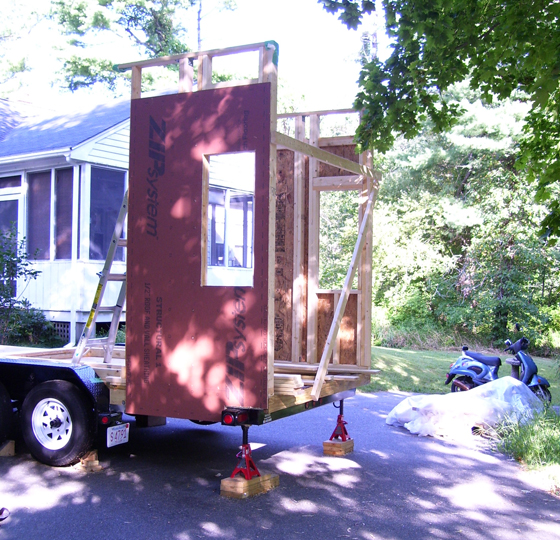
As you can see from these pictures above, I chose to have an eave to hide the gutter water collection system I will install later. Take care that you have measured this properly so it fits within the width guidelines and wind aerodynamics of traveling on the road. I chose to give up a few interior inches on each side of my trailer’s width in order for water collection/filtration to become part of my permanent off-grid collection system.

The Lofts

This week the build out for one of my lofts was required so that the ridge beam and rafters can be built from the inside out.

First I had to insulate and EcoFoil the exterior floor over the deck.

Loft.3
Loft.4

I have chosen to “pickle” the boards with white primer and two layers of acrylic varnish to allow the woods lovely surface that ethereal aesthetic finish which will be featured throughout the tiny house interior. Just enough to tone down the busyness of the wood yet still leave an appreciation of its surface qualities.

Loft.5

The underside of the loft boards were also sanded and given the same finish where they will be visible.

Loft.2

Framing By Myself, Part 3

This was one of those days where I realized I think I bit off more than I could chew by suggesting in Deek’s workshop last year that a “building it alone challenge” for a women in her 60’s wouldn’t be too difficult. And I have no building, design or construction experience either. I started with a Dewalt drill.

This project was to serve as a model to everyone that they could build an off the grid, debt-free, ecologically friendly tiny house with a bit of gumption, creativity and a passion for the sustainable tiny life. So I just bit my lip and remembered the NIKE ad, “Just do it!”

Sheathing.1

I had an inkling that the future would hold a few more of these internal pep talks.

Sheathing.2Now for taping the seams with ZIP tape which I found out was a very sticky job.

Sheathing.3

Now for the first “topping out” ceremony – an homage to the construction Gods and Goddesses!

Sheathing.4

*Note: the names you see written all over the house are donors that made contributions to the Silver Bullet Indiegogo Tiny House Campaign in August, 2013 (small funding to frame the exterior).

Framing By Myself, Part 2

After a week of rainy weather, I was able to erect the double door framing and start the front area. My top five reasons for using ZIP panels for sheathing:

1. Their product and manufacturing is sustainable.

2. It’s a company that treats its people ethically.

3. The organization gives back to the communities in which it is located.

4. Added structural durability, superior moisture protection, and enhanced thermal protection.

5. Decreases installation time considerably.

Framing.2

Framing.1

* Note: All 2×4’s, 2×6’s and 2×8’s are SFI Certified Wood.

Tiny House Framing by Myself

The IndieGoGo Campaign funds in hand, I began the daunting task of framing the walls. I completed this in parts as I am building the Silver Bullet myself without a team of volunteers or friends so my choices reflect the challenge I made in Deek’s workshop almost a year ago.

1. I started with the rear of the tiny house.

Walls.1

2. Here’s the back view.

Walls.2

3. Sheathing and insulating as I went. Again, I used the same recycled blue jean insulation as I did on the floor with a layer of EcoFoil and 3/4-1″ space before any exterior or interior top layer.

Deck.5

* Note: All 2×4’s, 2×6’s and 2×8’s are SFI Certified Wood.