Three years ago I was thinking about my future tiny house envelope and chose to incorporate biomimicry as much as I could. This traveling educational exhibit, traditionally designed, to educate others on sustainable lifestyles and building retrofits, rehabs and/or repurposed construction can still incorporate biomimetics in its product choices. My next tiny house will be far more organic in design, with eco-skins, almost imperceptible from its natural surroundings. But I digress.
Nature’s design as inspiration is not new (Sacred Geometry, Golden Mean, etc.). Biomimicry, Cradle to Cradle or LCA (life cycle analysis) concepts are basic inspiration for Smart Sustainable Design.
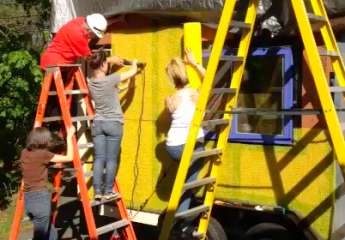
Deciding on a vented breathing roof and rain screened walls delayed my build a bit and it was well worth it. I began installing Benjamin Obdyke’s product, Homeslicker rainscreen in late Spring during a workshop I held for tiny house enthusiast’s, video below.
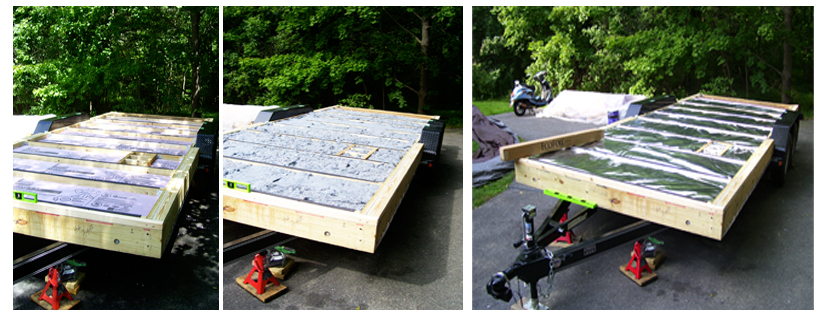
My siding applications were done in sections around the house over the summer.*

Note in the middle picture that 3 inches of screen was folded around the edges to allow drainage but discourage insect infestation. More about how to install Homeslicker here.
Homeslicker is a nylon mesh matrix that comes in a 40″ x 46′ roll and has little vertical channels that direct rain flow down the walls surface. It is very easy to install (I’m not a builder) and provides about a 1/8″- 1/4″ air layer, when compressed, between my Zip panels and my metal or wood siding.
Homeslicker will protect your wall assembly from rot and mold, allow moisture to escape, a thermal break, and prevents damage from surfactants between your vapor and siding. A great solution for tiny housers!
*Check out a similar ventilated underlayment, CedarBreather, I installed on my roof here.
Article in Green Builder Media about the Silver Bullet:
http://www.greenbuildermedia.com/tiny-houses/underlayments-protect-tiny-house-from-excess-moisture