The Foundation, Part 2

The envelope of my 144SF tiny house required a lot of research. As many tiny house builders and enthusiasts know, such a small structure has unique issues with moisture, energy, heat retention, airflow, cooling and design.

A word about why I chose the aluminum flashing vapor barrier vs. a radiant barrier with bubble wrap. When I grew up in Minnesota, we had lake homes and cabins where “critters” had eaten through all kinds of softer material like cardboard, bubble wrap, tin foil, thin masonite and 1/4″ plywood, among other things.

Although I love wildlife, I am concerned that could easily happen under my sub-flooring with all those “critters”  visiting me when I start touring the US and so  I chose a variety of R value solutions.

I want to make sure the Silver Bullet envelope is as watertight (yet breathable), as durable, recyclable and repurposable as possible. That means that some of my choices will be different than others.

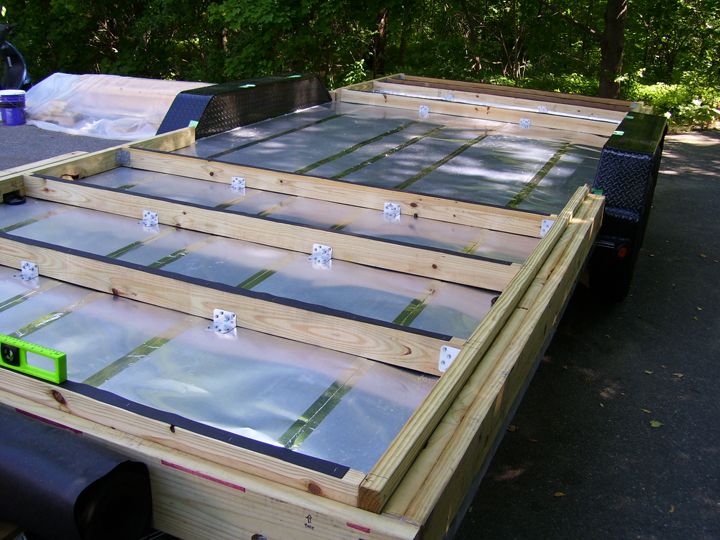
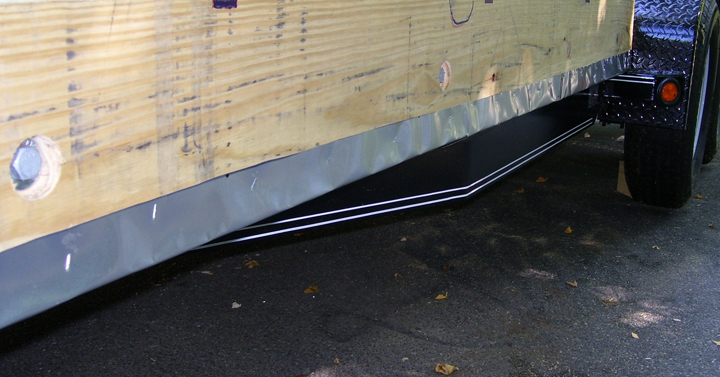
After speaking with several manufacturers I chose the EcoFoil single layer perforated barrier.  It is more time consuming to install than just wrapping your floor framing; however, it will allow me to sleep more soundly knowing my sub-flooring is secure and more energy efficient.

1. I continued with the remaining bracing of the subfloor framing.

Subfloor1f

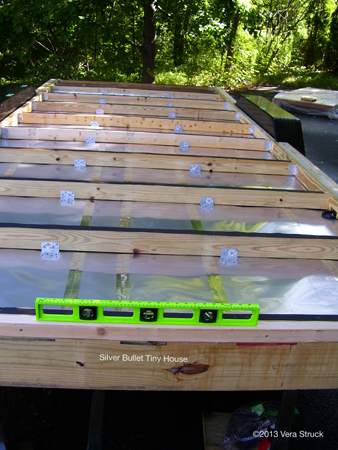
2. Blocked out plumbing, and installed Owens Corning for structural rigidity.

Subfloor2f3. Installed Bonded Logic Blue Jean insulation for additional R value

Subfloor3f

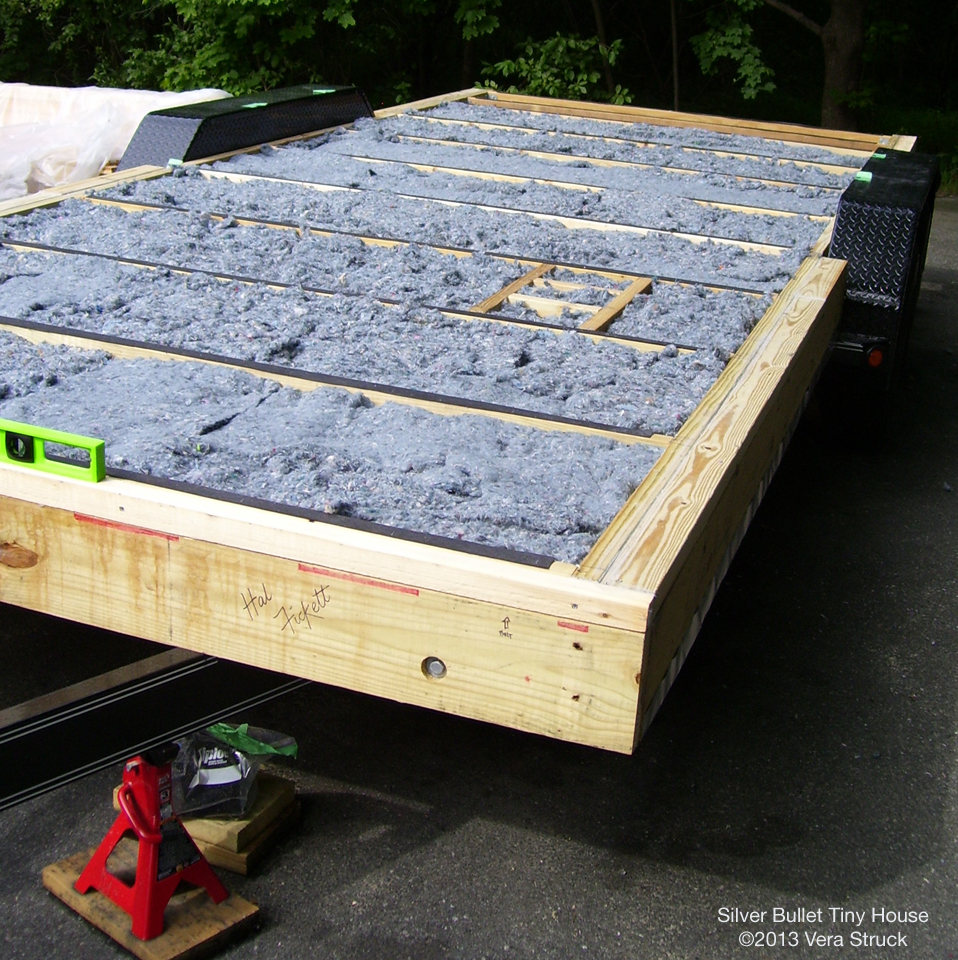
4. Installed EcoFoil radiant barrier per their specialist, David Arnold.

Subfloor4f

EcoFoil’s article about the Silver Bullet

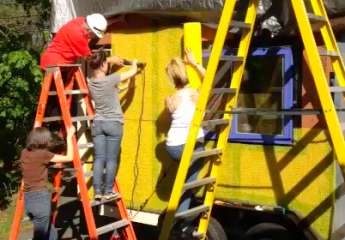
Note: This was a busy week as I am preparing my reclamation show artwork whenever it rains (which was 5 days this week) and so Saturday was the only dry day for building outside.

Indiegogo Campaign for Tiny House

We launched our Indiegogo Campaign last Friday to fund the completion of our exterior structure of the sustainable tiny house/classroom we call the Silver Bullet.

Here’s the thing, the sustainability non-profit I started, terrabluteams.org, wants the Silver Bullet Tiny House to tour the country in 2014 to inspire individuals, families and communities to live sustainable lifestyles. Any chance you or a friend could help us do that?

To contribute, please click on this link:

http://www.indiegogo.com/projects/tiny-house-teaches-others-to-live-sustainably/x/350152?c=home

Screen Shot 2013-08-01 at 4.24.57 PM

Any donation, no matter the size, would help! Check out our creative perks and pass on the link to others!

The Foundation

This week finished with:

1. Putting down an aluminum vapor barrier over the five reinstalled 2×8’s. I overlapped the layers 5′ inches and secured them with XtraBond®150 – Premium Grade Silicone Sealant and then taped the edges with aluminum tape.

2. I have framed the sub-flooring with 2×4’s secured with premium galvanized screws. I anchored the corners with Simpson L-braces and also used those to secure the framing to the trailer 2×8’s.

3. The side 2×8 bottom’s were flashed with aluminum and bolted to the trailer bed (2 in front, 6 along each side). The sub-flooring was bolted to the trailer sides.

(Thank heavens our Seabrook Home Depot Manager, Brandon Hardy, suggested I get an Impact Drill. It saved my hands from getting numb. I counted them; 382 Simpson screws, 126 wood screws and 12 1/2 inch bolts were required and I haven’t even gotten to the 3/4 inch plywood flooring yet!)

Preptrailer.8

Preparing the Trailer and Me

Preparing the trailer, although difficult, was far easier than preparing myself. When constructing something out in the open there are so many uncontrollable issues with weather, possible tool theft, distractions, critters, insects, water damage, etc. But hey, it was my idea to do it in the natural world.

The learning curve with tools I’ve never used before like compound mitre saws, circular and Skilsaws, drills, building principles, etc. took several weeks of research and will certainly involve lots of trial and error. One builder friend, helping me overcome my lifelong fear of construction accidents gave me a wonderful lesson on construction safety and encouraged me to get in there and just start. (Kind of like the Nike ad, “Just do it!”)

Once I started, it was fun, I couldn’t stop. Now I know what Deek meant; its like a fever, this building, reclaiming, creative process. I’ve reclaimed resources for making art and now, a tiny house.

The tiny house build has been slow as this has been the wettest summer in New England in 30 years. This weather plus the heat-waves of 100 degrees between storms has limited me to a few 3-hour sessions of building, but I am up and at ’em whenever I can.

Trailer Preparation:

1. Remove all the boards, shorten for enclosed rear deck.

Preptrailer.1

2. Reinstall only half of them to conserve weight. (Note I numbered and marked their position so I could match up the threaded screw holes when reinstalling to the struts)

Preptrailer.4

3.  Install jacks and balance trailer, add 2×8 support framing

Preptrailer.2

3. Remove front corner lights and electrical box to accommodate additional bolted bolsters and front structure.

Preptrailer.3

4. Bolt flashed 2×8’s to trailer base

Trailerprep.7

Reclaiming my waste stream by making art

Recshowpostcard

During the last two years I’ve become an ardent tiny house enthusiast and have spent the last two years adjusting to living a tinier life. I’ve drawn countless tiny house designs, electrical drawings, elevation sketches, and collected windows, doors and materials from Habitat for Humanity, the side of the road, yard sales, you name it.

While in the process of getting ready to build the Silver Bullet, I have been very busy downsizing, recycling, repurposing, gifting, free cycling, and making art out of all sorts of materials. The process is challenging and totally worth it.

I’ve made shoes, necklaces, earrings, toys, bustiers, gowns, dusters, shawls, purses, pyramids, paintings and sculptures out of newspaper, plastic bottles, feathers, silk, buttons, beads, ribbons, doors, canvas, yarn, bottle caps and more.

I had great fun inspiring an excited group of local High School students to contribute an entire grid of small paintings of their own waste streams. Come and join the party on Opening Night!

(That’s my friend, Max, an artist, and fellow tiny house enthusiast, who will be modeling the fashions on opening night. She’s traveling in Europe, you can find her here.)

Waste Not, Want Not (Everything is food for something else)*

Remis Lobby Gallery, Wilkie Performing Arts Center, Governors Academy, One Elm Street, Byfield, MA. 01922

Opening night with the artist: September 20, 2013 6-8PM


*Noted reclamation artist, resource steward and sustainability educator, Vera Struck, upcycles her waste-stream into artwork, www.struckstudios.com